Managing CloudShell Groups
In this article:
Adding groups
There are various ways to define CloudShell groups:
- Create groups manually by adding new groups via the Groups document.
- Build a driver to import groups from a file and automatically specify the domain access for each group.
- Use TestShell APIs.
To add a new group manually:
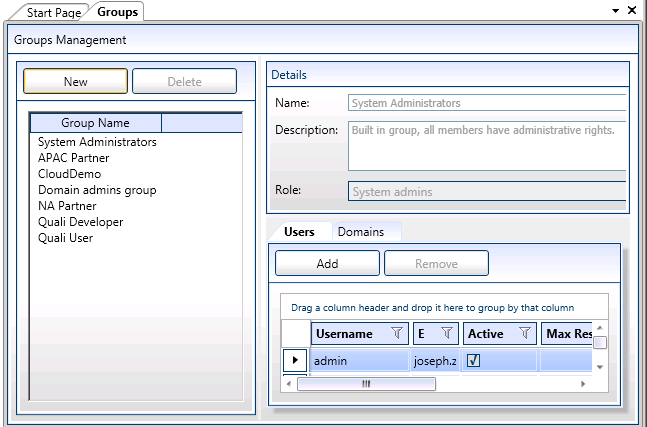
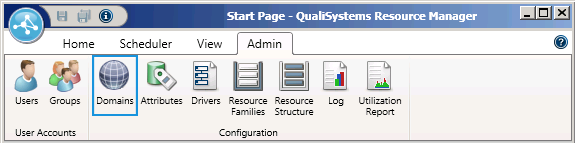
- Click the Admin tab's Groups icon.
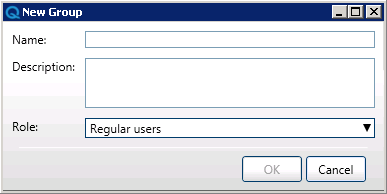
- In the Groups Management document, click the New button in the Groups list pane toolbar.
In the New Group window, enter the name and description, and select a role for the new group.
- Domain admins can access all domain assets, create inventory resources and apps, and perform administrative tasks in the domain via CloudShell Portal's Manage dashboard.
- Regular users are the default role for new groups. Regular users can access and use public blueprints in their domain and become owners of blueprints, which allows them to modify the blueprint’s properties and elements.
- External users are very limited users that can view blueprints but not use them. They can view and export public blueprint diagrams but cannot create or modify blueprints and sandboxes. Using the
ExternalUserHasExtendedPermissionsconfiguration key, external user permissions can be extended to allow them to see blueprint resource structures and commands and reserve blueprints.
Note: System administrators are defined per user in the user's profile. For additional information, see Managing CloudShell Users.
- Click OK to add the new group.

Note: To edit an existing group's details, in the Groups tab, double click the desired group
Adding users to groups
The System Administrator grants user permissions by adding users to groups.
Users can be added to several groups.
To add users to a group:
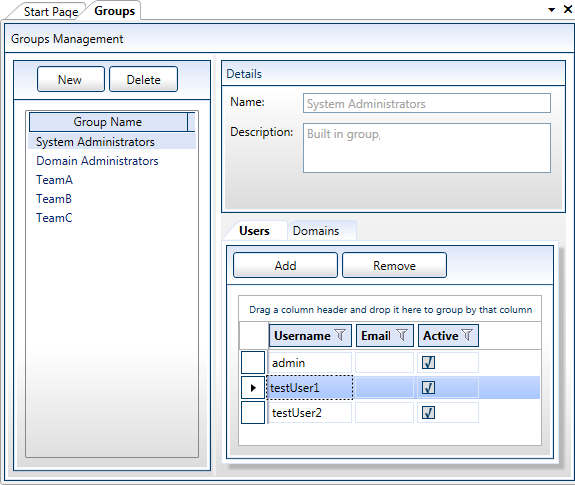
- Select the target group from the list in left pane.
- Select the Users tab.


- Click the Add button to open the Users Selection window.

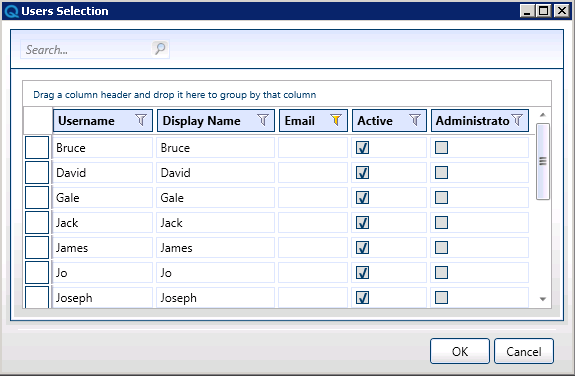
Select users from the list and click OK to add them to the group.
Multi-selection is supported.
Use the Search field to search for specific users.
Removing users from a group
To remove a user from the group:
Select the user in Users list and click the Remove button.

Associating groups with a domain
Associating a group with a specific domain provides users of that group with access to all resources and blueprints associated with that domain.
Groups can be added to multiple domains:
- Group access to a domain can be either active or view only.
- Group access to a domain is specific to that domain.
- Group access to a domain can be configured via the Group document's Domains tab or via the Domain document's Groups tab.
Here are some options for setting up view only domains:
- Assign a group to an active domain where users can reserve resources and perform resource operations. Add the group to all the other domains - or to the Global domain - on a view-only basis.
- Allocate groups to domains to support current work-flow processes. Limit user access to lab equipment by selectively add groups to domains on a view-only basis.
- Associate all groups with the global domain, allowing all users full access to the entire lab.
Note:A user can be a member of multiple groups and thus have multiple roles and permissions. If a user has more than one role in a domain, the user’s permissions in the domain are determined according to the most privileged role.
To associate groups with a domain:
Click the Admin tab's Domains icon to open the Domains Explorer window.
- In the Domains Explorer, double-click a domain or right-click a domain and choose Open from the context menu to open its document.
- Click the Groups tab.
- Click the Add button to select the groups.
- In the Groups Selection window, select the groups that you wish to associate with the domain.
- Specify the permissions level for each selected group. Check the View Only checkbox if you wish to grant view-only access to that group.
- Click OK to add the selected groups.
Removing groups from a domain
To remove groups from the domain:
Click the Admin tab's Domains icon to open the Domains Explorer window.
- In the Domains Explorer, double-click a domain or right-click a domain and choose Open from the context menu to open its document.
- Open the Properties page from the Page drop down.
- Click the Groups tab.
- Select the groups that you wish to remove and click the Delete button.