You are here: CloudShell Insight BI > Creating and Customizing Dashboards > Add a New Data Source Table
Add a New Data Source Table
To add a data source table:
From the Windows Start menu, choose All Programs > SiSense > SiSense ElastiCube Manager.
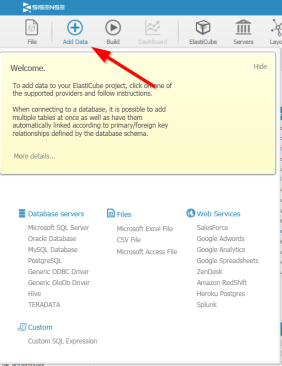
- Click Add Data and select a data source from the menu, for example, under Database servers, you can select a Microsoft SQL Server, or under Files you can select a Microsoft Excel File.
If you selected an Excel file, you are prompted to browse to the location of the file, select it and click Open.
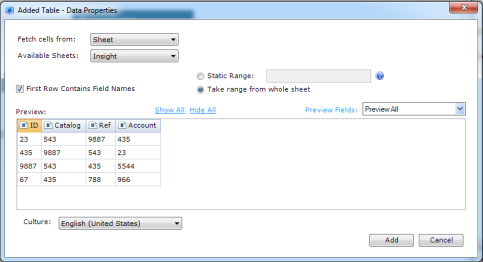
Configure the properties in the Added Table - Data Properties window and click Add.
For more details about the different Add Data options and the data sources for Sisense, click this link.
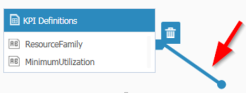
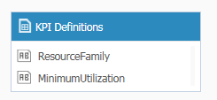
- You can optionally change the default table name by double-clicking the table header and modifying the table name.
You can change the default name by double-clicking the table header and updating the value.
- Optionally, to connect the new table to other tables:
Click the Merge icon next to the field to which you want to connect.
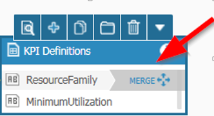
Drag the Merge icon between the new table and a matching field on the target table.